3.26.2015

Different Ways to Style a Graphic Tee

Throw your hair in a top knot,  add skinny jeans, scarf and Birks.


Add a half top knot, kimono, folded bottom jeans and wedges.


Tie a flannel at your waist and add black tights and combat boots.


Change your hair part and add a cardi, maxi skirt and sandals.

Enjoy!!

2.20.2015

Braided Updo with Ombre Lip


Long time no see bloggy blog! I was so inspired by this look seen at New York Fashion Week that I just HAD to try and re-create it! Here are the brief steps I took to get this inspired look.

-I put in a decent amount of dry shampoo to give my hair a good amount of texture. Giving everything a good shake.
-I then messily sectioned off the front portion of my hair into 4 parts
-Tilting my head to the left side to make sure the 2 sections on the right fell to the left, I then messily braided each section and secured with a clear band.
-I then repeated on the left side, tilting my head to the right to make sure the 2 braids fell to the right and repeated the 2 braids.
-Then, I very messily pulled apart each section of the braid to make it wider. My hair is actually on the thinner side so I need to do this to give the appearance of a thicker braid. It also adds to the whole messy look.
-After I have my 4 braids loosened and pulled apart, I then gave the back portion of my hair a good tease and added some hairspray to messy it up. I then started bobby pinning up chunky portions of my hair keeping it pretty loose. I had no rhyme or reason to doing this, just messily pinned up sections, allowing the ends to fall where they may.
-Next I took my braided sections and draped the 2 on the right across to the left and draped the two on the left across to the left side and secured the ends with bobby pins. I left them very loose and did not pin them straight to my scalp. Adding hairspray gave them more texture and allowed them to not fall flat on top of my 'do.

I know this is pretty wordy but the main key to this look is do NOT keep it neat! Pull pieces out and straighten the ends with a straightener to give it a piecey look. Hope you enjoyed!


1.14.2015

Photography: Sawyer Lynn Adelhardt

Hello! It's been a while since this blog has seen some action! Recently, I got the chance to take some photos of my new and first NIECE! She is too cute for words and I really enjoyed capturing this precious little girl in her first couple weeks of life. Hope you enjoy!

~Donielle (#twintweetD)


7.10.2014

FOTD: Face of the day!


This has been my most worn summer look so far! Here are the items I used, if you are interested!
(In order of application)
 
Foundation: 
(I will alternate between this and a bb crème or tinted moisturizer, all light to medium coverage)
 
Concealer:
 
Powder:
 
Bronzer:
(As if I wasn't in love with the product enough, this smells and tastes like CHOCOLATE)
 
Blush:
 
Highlighter:
 
Brows:
 
Eyeshadow:
(...Chocolate...again, obsessed)
 
Eyeliner:
 
Mascara:
 
Lips:
 
There she is! Please comment with any questions you may have, you can always message on Facebook as well!
 
~Donielle (#twintweetD)


6.21.2014

Farm Photoshoot

When we meet in the middle...where we grew up, we always appreciate and are thankful to have grown up in God's country, our home. We have a lot of fun new jewels for summer and wanted to illustrate where our inspiration comes from, in nature's form. This is how we love to style our handmade jewelry. A little bit of country and a whole lot of us doing what we love! 


Hope you enjoyed our "Farm Photoshoot" Orders are welcomed through our email, Instagram, Facebook and Etsy store: www.etsy.com/shop/pairdesigntwins 
We love your feedback, so share, like, comment, follow and thanks for stopping by!

Love, Pair Design Twins~ #twintweetD & #twintweetC

3.14.2014

Makeup Must Haves of the Moment!

These are my go to makeup products that I have been using as of late! Here is the look that I have been creating with these products! They are listed in order of how I apply them.


1. First I apply ELF's BB Cream in  Buff. This color is a tad dark for my skin tone right now but I am always for adding a little color in the dead of winter. I just make sure I blend down my neck really well. I tend to wear BB creams or tinted moisturizer in the winter with my uber dry skin and this one is super affordable. It also gives a nice dewy finish.  I would set with a powder if you have oily skin.

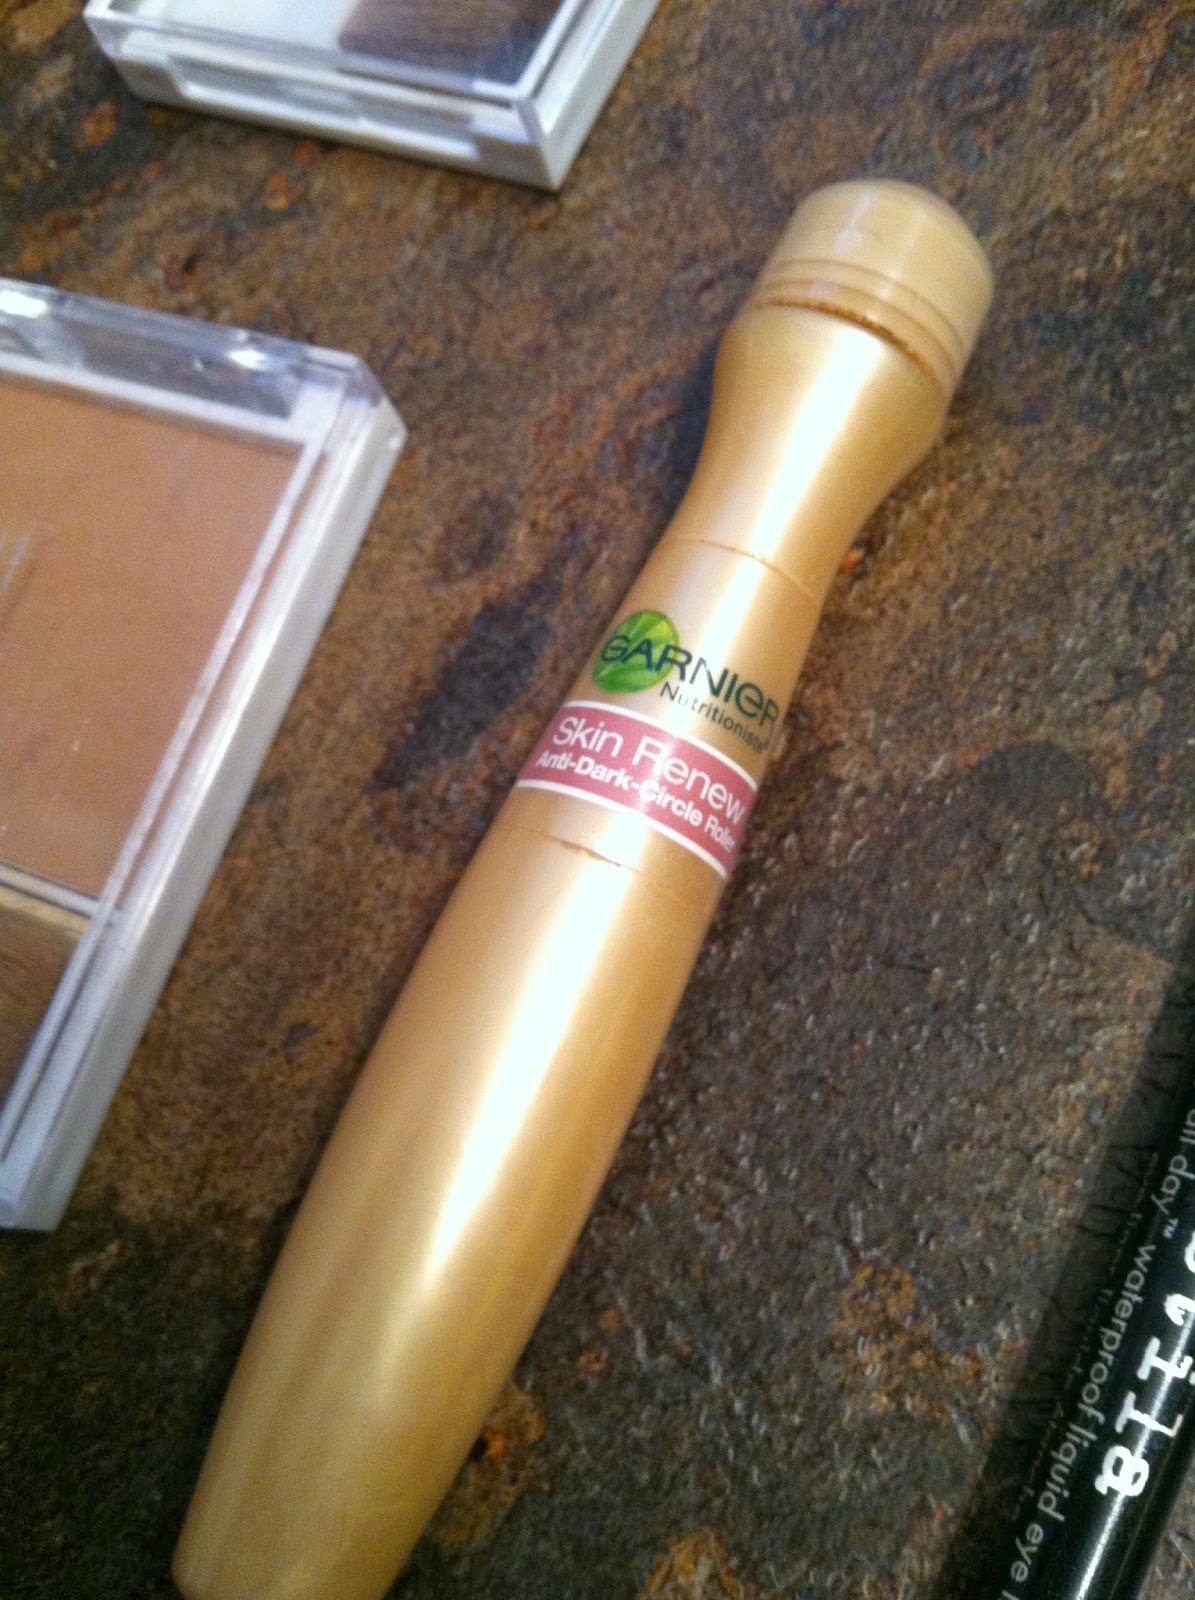
2. I have had this Garnier Skin Renew Anti-Dark Circle Roller Ball for probably 3 years! It lasts FOREVER! Its nice and cooling under my eyes in the mornings and is a more liquidy formula that also goes well with my dry skin. I let it sit for a minute to let it do its magic. Bonus..it also helps with puffiness!

3. Next, I apply my Urban Decay Primer Potion on my lid and lower lashline. Even though I'm not wearing any eyeshadow in this look, it gives me slight coverage and helps my eyeliner from transferring.

4. Then I contour with this ELF bronzer in Truly Bronzed Matte. This stuff is a DOLLAR and is an amazing, matte dark-brown color that blends out super easy. I use it in the hollows of my cheekbones, the sides of my nose, and brushed lightly in the eyelid crease.

5. Next I lightly apply this ELF blush in Shy (which happens to be almost an exact dupe for MAC's blush in Well Dressed). This is a perfect flush for my fair skin in the winter.

6. I then go in with MAC creme highlighter in the color Shell. I place this on the very top of my cheekbones and in the inner corners of my eyes. It gives such a dewy natural finish that looks stunning in the sunlight.

7. Next I use NYX's Eyebrow Cake Powder in Blonde to fill in my brows. This is the perfect color for my ashy blonde hair and have used and repurchased for many years.

8. After that, I use the highlighter end of NYX's Push-Up Bra For Your Eyebrow under my brows to give them them a nice lift. It is the perfect shade of light peachy pink that looks super clean and natural

9. I have super watery eyes and this Stila Stay All Day Waterproof Liquid Eye Liner in Intense Black doesn't budge until I wash it off at night. Doing a simple cat eye line gives my eye a lift that is super easy to do with the felt tip.

10. This mascara...I could probably use just one coat of it if I was in a rush. Tarte's Lights Camera Flashes gives massive volume and pretty dang good length. I usually put two coats on. It also DOES NOT BUDGE during the day, it is actually a little hard to wash off at night but I think the effect it gives is totally worth it!

And thats it! Those are the 10 products that I have been using and abusing lately. I would highly recommend all of them! Hope you enjoyed <3 Charisse